WOVN iOS SDK v4 Installation Guide
This guide provides step-by-step instructions for installing and integrating the WOVN iOS SDK v4 into your application.
- Xcode 15 or newer (Xcode 16 recommended)
- iOS 12.0 or newer
Integrate SDK
Step 1: Download the Framework
Please contact our customer support team to receive the SDK download link. Once you have the link, download the SDK ZIP file and extract it to your preferred location.
For SwiftUI Projects: If your application uses SwiftUI, you will also need to download the WovnExtensions.swift file. Please contact our customer support team for the download link to this additional file.
Step 2: Add Framework to Project
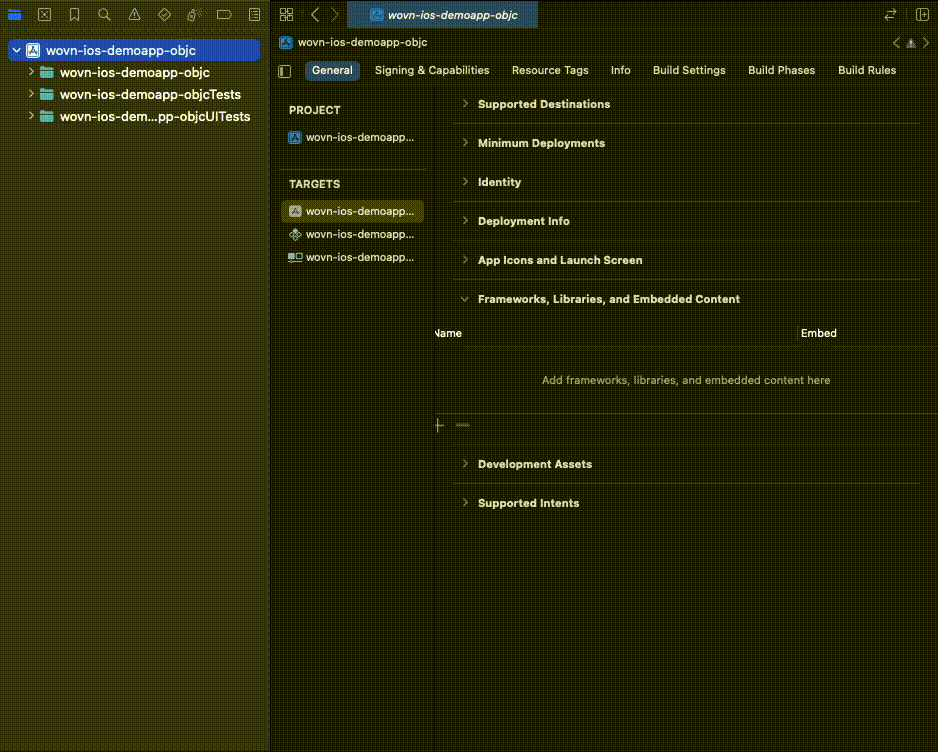
- Add file to the project - Drag and drop the framework into your Xcode project
- Select the project target and make sure "Embed & Sign" for framework is enabled
Step 3: Add WovnExtensions.swift (SwiftUI Projects Only)
If your application uses SwiftUI, you need to add the WovnExtensions.swift file to your project. This step can be skipped for UIKit-only applications.
- Add the file to your project - Drag and drop the
WovnExtensions.swiftfile into your Xcode project, similar to how you added the WOVN framework - Verify the integration - Ensure that SwiftUI components can access the WOVN extensions by checking that the components point to the WOVN extensions as shown below:

Step 4: Initialize WOVN SDK in AppDelegate
- Objective-C
- Swift
Add to your AppDelegate.m file:
//...
#import "WOVNswift/WOVNswift-Swift.h"
//...

- (BOOL)application:(UIApplication *)application didFinishLaunchingWithOptions:(NSDictionary *)launchOptions {
    //...
    [Wovn startWithAppGroupIdentifier:@"your.group.identifier" autoTranslateUIKit:true isNotificationServiceEnv:false];
    //...

    return YES;
}
Add to your AppDelegate.swift file:
//...
import WOVNswift
//...

func application(_ application: UIApplication, didFinishLaunchingWithOptions launchOptions: [UIApplication.LaunchOptionsKey: Any]?) -> Bool {
    //...
    Wovn.start(appGroupIdentifier: "your.group.identifier", autoTranslateUIKit: true, isNotificationServiceEnv: false)
    //...

    return true
}
Step 5: Configure WOVNswift.plist
Add WOVNswift.plist to your project with your specific token:
<?xml version="1.0" encoding="UTF-8"?>
<!DOCTYPE plist PUBLIC "-//Apple//DTD PLIST 1.0//EN" "http://www.apple.com/DTDs/PropertyList-1.0.dtd">
<plist version="1.0">
<dict>
    <key>loglevel</key>
    <integer>0</integer>
    <key>token</key>
    <string>YOUR_TOKEN</string>
    <key>translation_preview_mode</key>
    <true/>
</dict>
</plist>
Replace YOUR_TOKEN with your actual WOVN project token from the dashboard.
Step 6: Language Switching (Optional)
By default, the SDK automatically attempts to translate content to match your device's system language setting. You can customize this behavior and manually switch languages as needed:
- Objective-C
- Swift
// Switch to English
[Wovn changeLangWithLang:@"en" callback:nil];

// Switch to SystemLang
[Wovn changeToSystemLangWithCallback:nil];

// Get current language
NSString lang = [Wovn getCurrentLangCodeWithWaitForInstance:true];
// Switch to English
Wovn.changeLang(lang: "en")

// Switch to SystemLang
Wovn.changeToSystemLang()

// Get current language
let lang = Wovn.getCurrentLangCode()
Step 7: Verify Your Integration
- Run Your App - Build and run your application in the simulator or on a device
- Check Console Logs - In Xcode's console output, filter by
Wovn.swift:startto verify successful initialization
In successful integration, you should see logs similar to
[Wovn.swift:start(appGroupIdentifier:autoTranslateUIKit:isNotificationServiceEnv:):326] WOVN: Info: Wovn: OnAfterCacheLoadHandler:
    Version: v4.0.0
    appGroupIdentifier: group.io.wovn.sample.wovn-ios-demoapp-objc
    autoTranslateUIKit: true
    getToken(): YOUR_TOKEN
    Bundle.main.bundlePath: /Users/macbookpro/Library/Developer/CoreSimulator/Devices/96E22002-4394-46F6-B245-C5EA98053283/data/Containers/Bundle/Application/6DAF6377-3C70-4291-BFB5-21BDDA4E7E94/wovn-ios-demoapp-objc.app
    Configs.initLanguage: nil
    Configs.initReportPermission: Optional(true)
[Wovn.swift:start(appGroupIdentifier:autoTranslateUIKit:isNotificationServiceEnv:):344] WOVN: Debug: Wovn: OnAfterAPICallHandler: clientVerificationHeader: false
[Wovn.swift:start(appGroupIdentifier:autoTranslateUIKit:isNotificationServiceEnv:):362] WOVN: Info: Wovn: OnAfterAPICallHandler: API data loaded
    getCurrentLangCode(): Optional("")
    Is development mode: false
    Client ID: fa78f73b-625f-4805-91af-e64939b43b05
    Configs.wovnSettingsBundle: Optional({
    userDefaults: {
        > wovn_settings_bundle_debug_status: SDK Version: v4.0.0
Satisfy all report conditions: false
  Project allows end users report: false,
  Have end user report permission: true,
  Use allowed connection: true
Report interval (second):  300
Development mode enabled: false
ClientID: fa78f73b-625f-4805-91af-e64939b43b05,
        > wovn_settings_bundle_auth: ,
        > wovn_settings_bundle_client_id: fa78f73b-625f-4805-91af-e64939b43b05,
        > wovn_settings_bundle_token: YOUR_TOKEN,
        > wovn_settings_bundle_loglevel: 0,
        > wovn_settings_bundle_bulk_settings: ,
        > wovn_settings_bundle_env: ,
        > wovn_settings_bundle_report_permission: 1,
        > wovn_settings_bundle_initial_usage_timestamp: 1755757425,
        > wovn_settings_bundle_error_report_permission: 1,
},

    userDefaultsStandard: {
        > verify_token: nil,
        > bulk_settings: ,
        > debug_status: nil,
},

    wovnPDict: {
    loglevel = 0;
    token = YOUR_TOKEN;
}
})
    Data refresh interval: 1800 seconds
These logs confirm that the WOVN SDK has been successfully installed and initialized. To enable real-time reporting and instant translation updates, proceed to the next section to activate development mode.
Activate Development Mode
Development mode enables your app to:
- Report newly detected texts automatically
- Receive faster translation updates
- Access additional features for development and testing
To activate development mode, you need to register your device's Client ID in the WOVN Dashboard.
Step 1: Get Your Client ID
The Client ID is automatically generated when the SDK initializes. You can find it in the console logs from the previous verification step.
- Run your app in Xcode
- In the console output, filter by
Client ID - Look for a line similar to:
Client ID: fa78f73b-625f-4805-91af-e64939b43b05
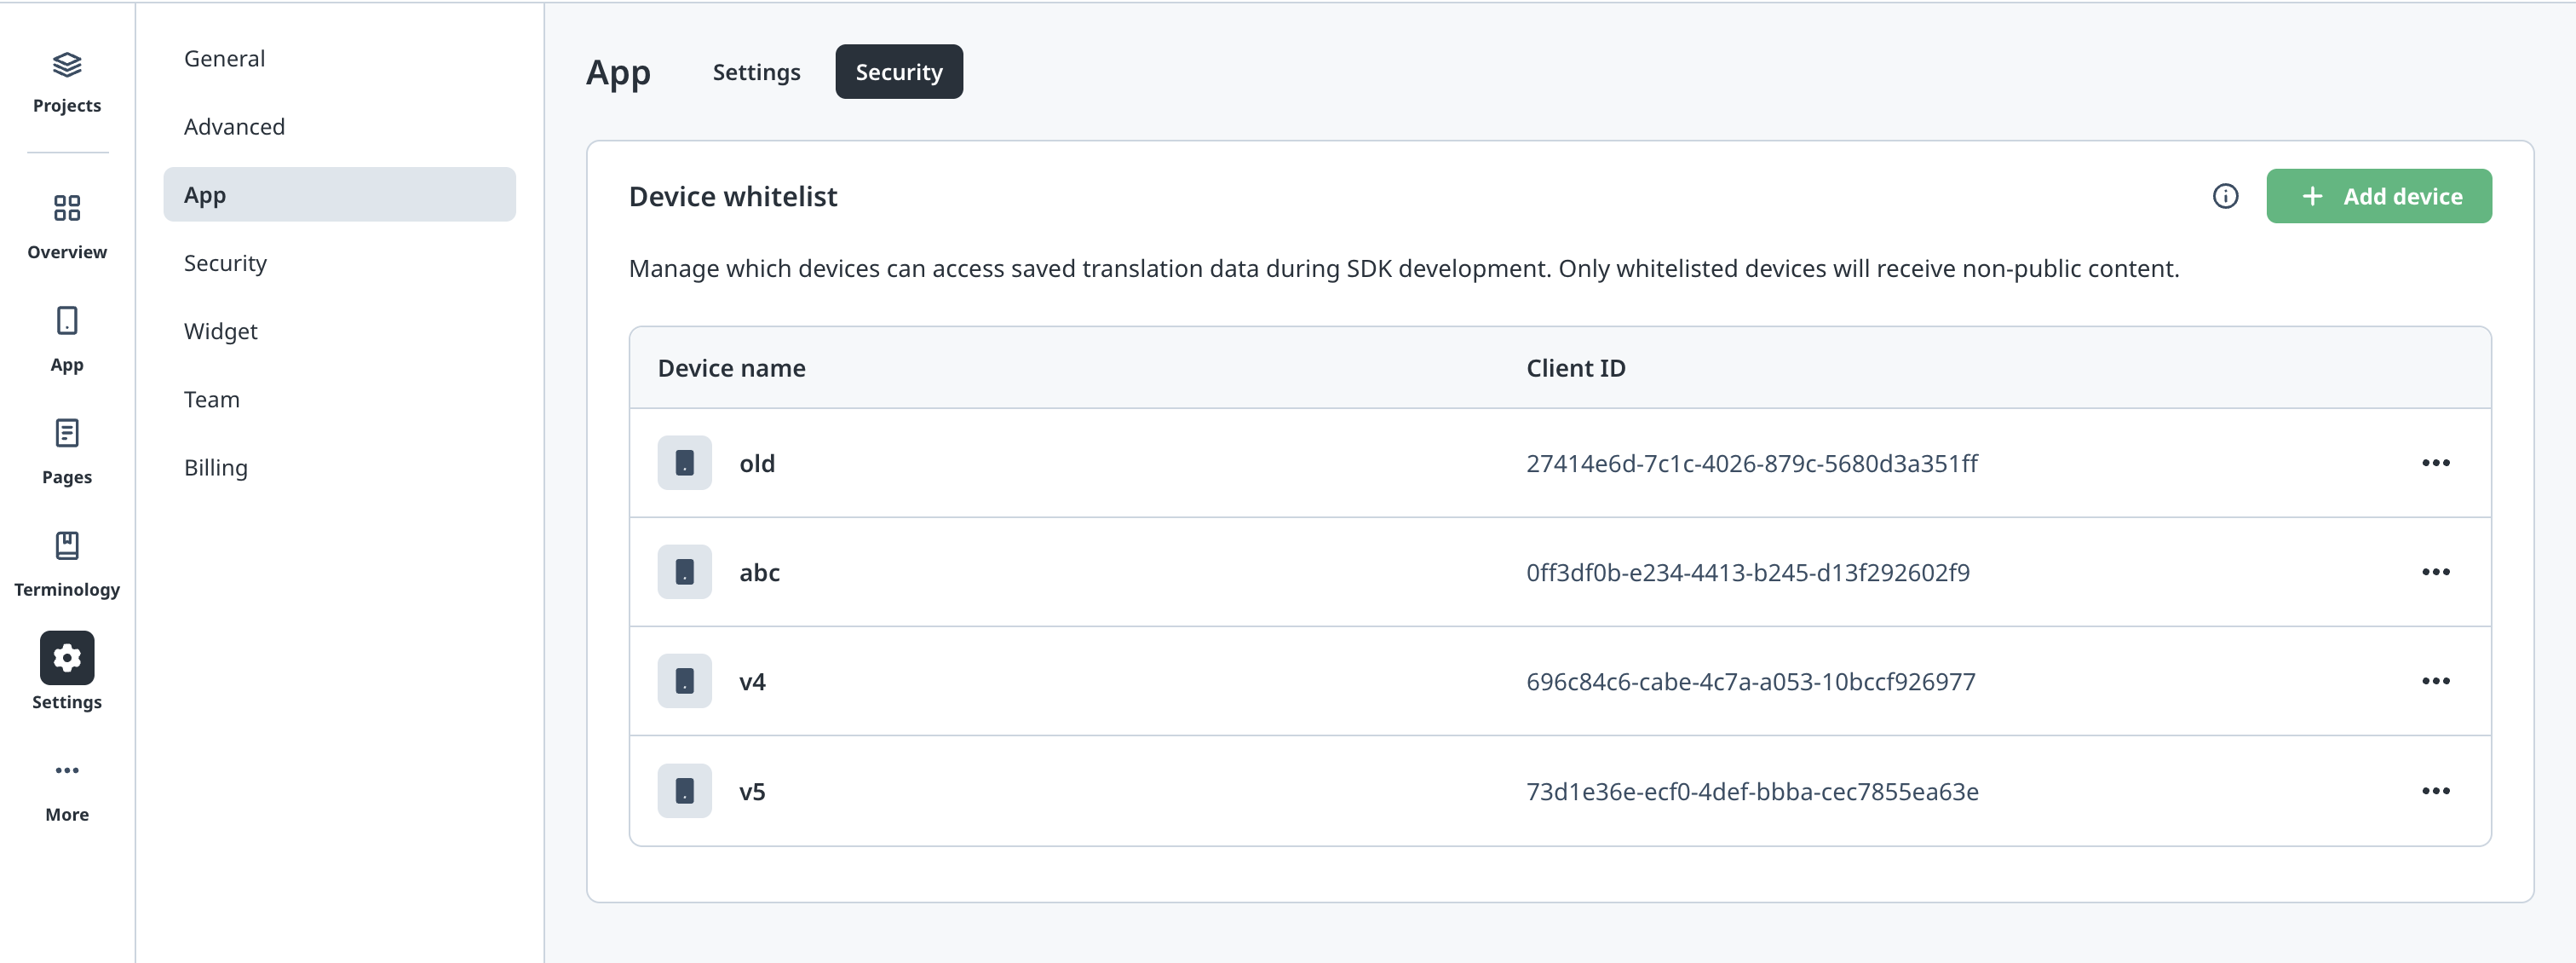
Step 2: Register Your Client ID
- Open the WOVN Dashboard
- Navigate to your project
- Go to Settings → App → Security
- Click Add Device and enter your Client ID
Step 3: Verify Development Mode Activation
After registering your Client ID:
-
Wait 2-3 minutes for the changes to take effect on the server
-
Rerun your application
-
Filter the console logs by
Is development mode -
You should now see:
Is development mode: true
Step 4: Verify Reported Texts
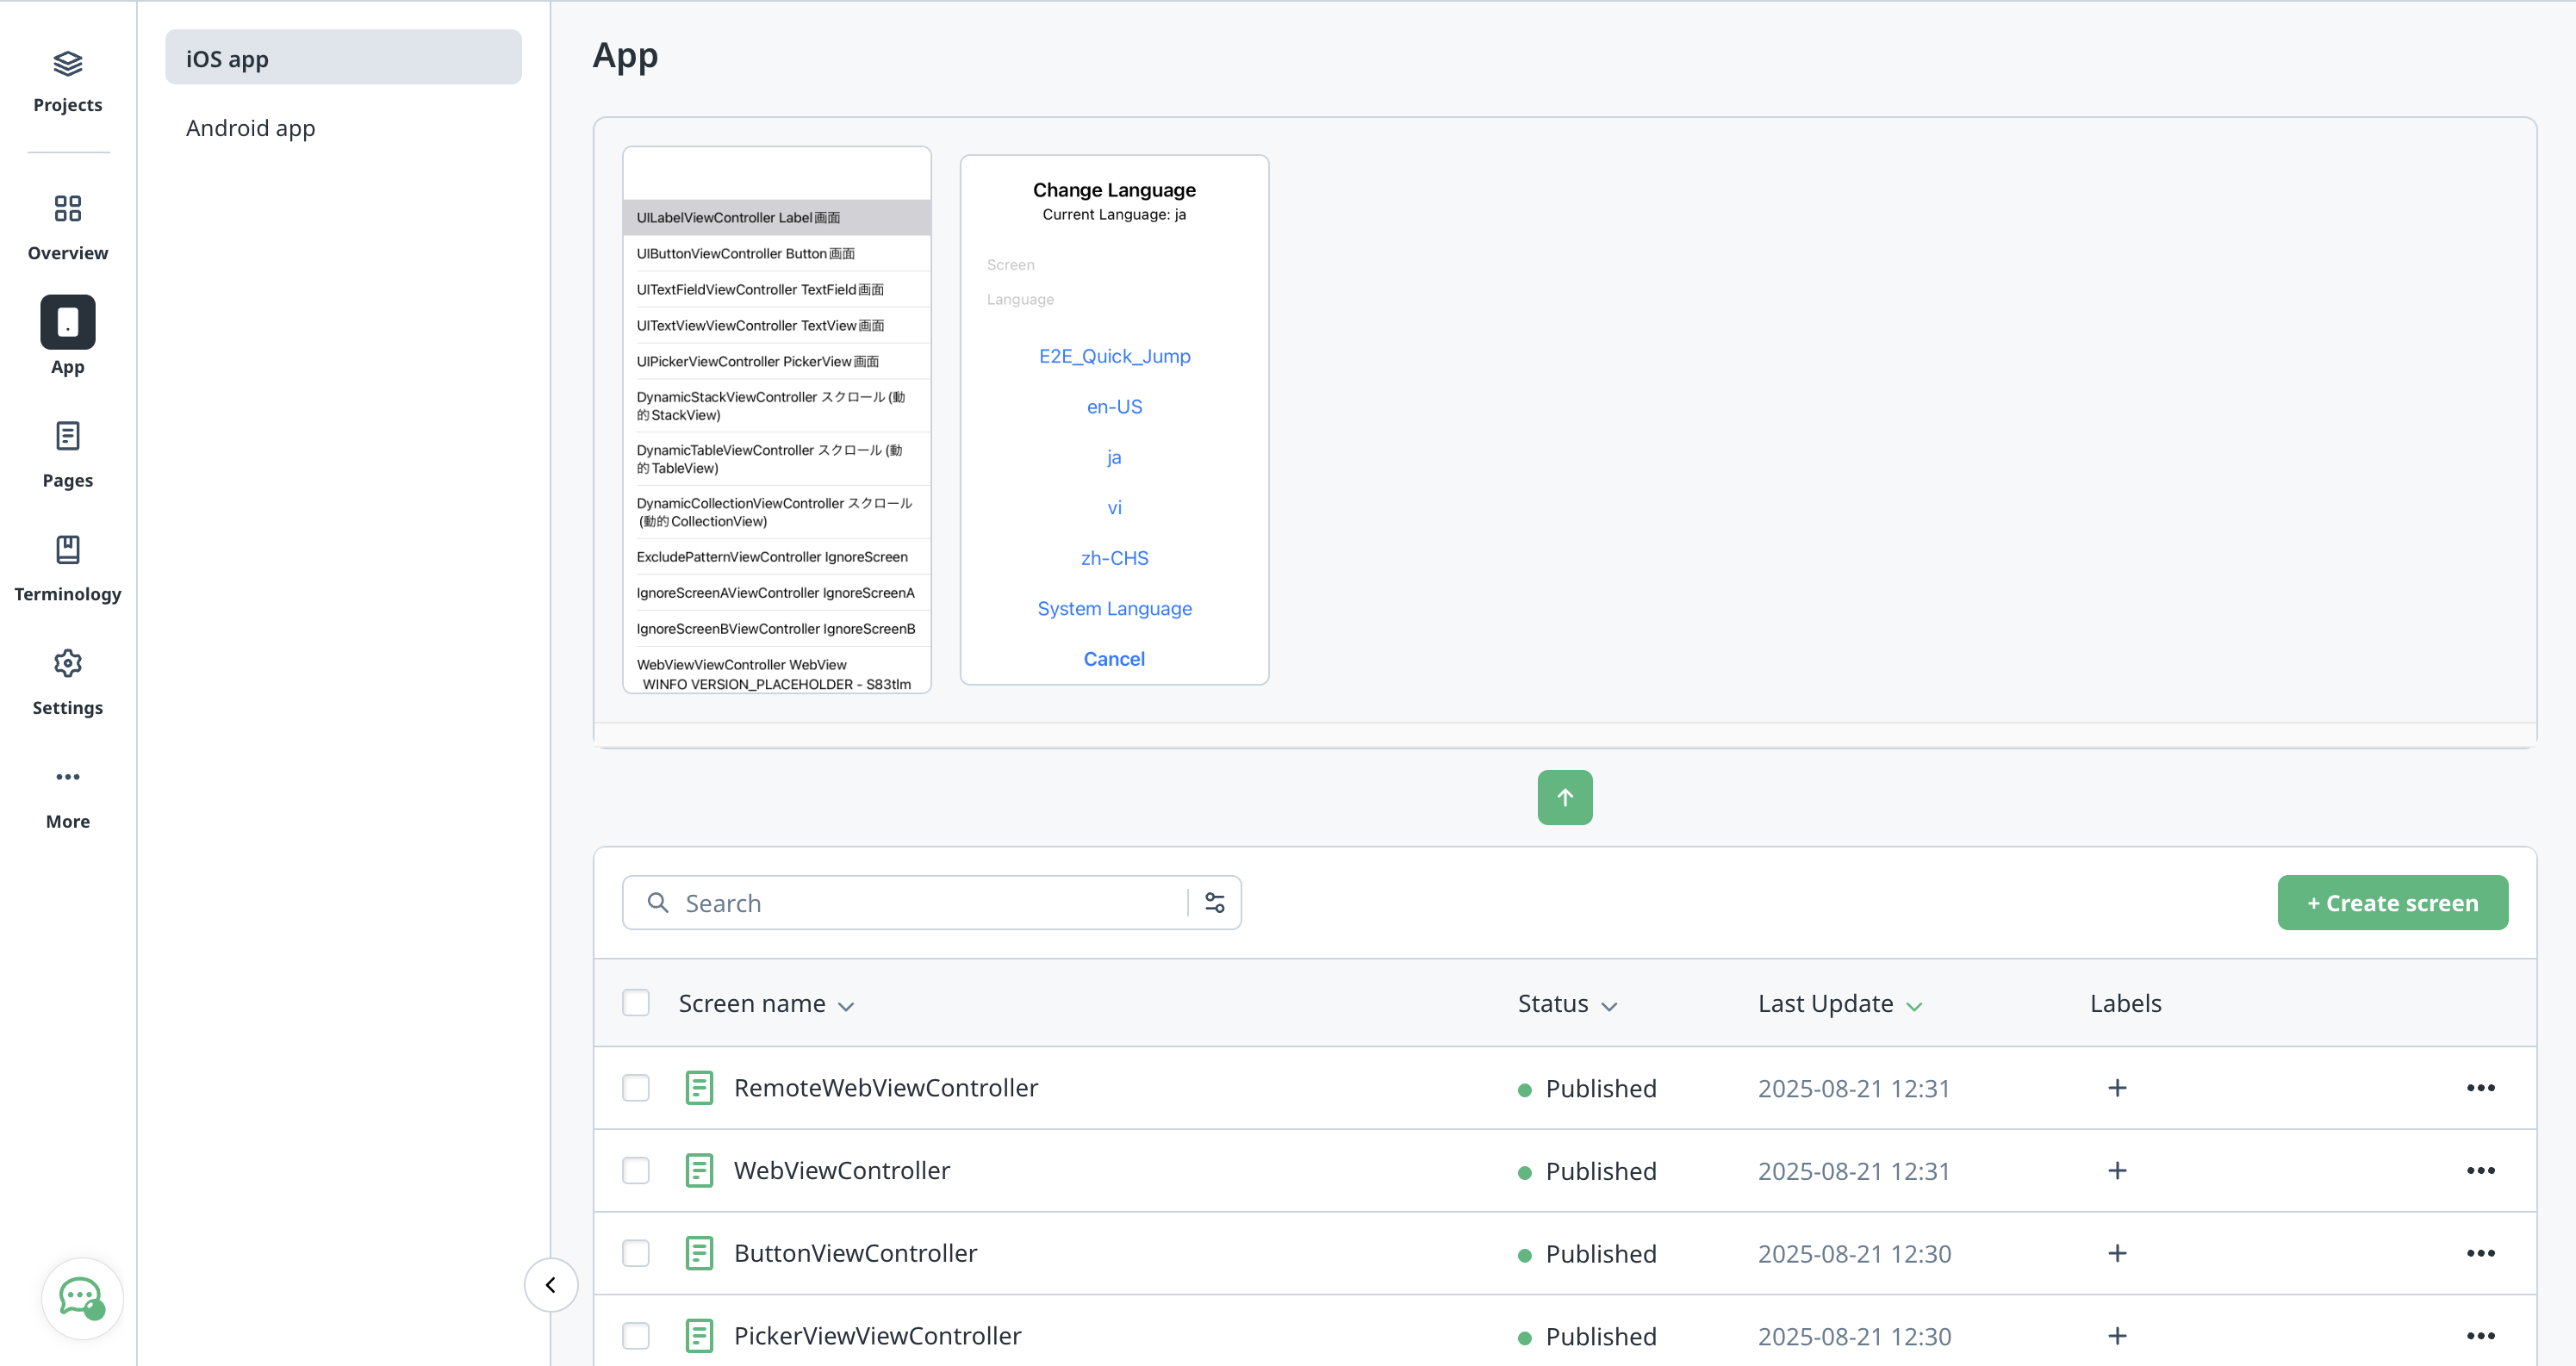
Once development mode is active, your app will automatically report newly detected texts to the WOVN Dashboard. To verify this functionality:
- Navigate through your app to display various text elements
- Open the WOVN Dashboard and check for newly reported texts
- The reported texts should appear in your project's text management section
It may take 2-3 minutes for the server to process reported texts and display them in the dashboard.
Important Notes
- Client ID Reset: The Client ID will change each time you delete and reinstall the app, or install on a new device. You'll need to register the new Client ID in the dashboard.
- Log Level: Ensure the
loglevelin yourWOVNswift.plistfile is set to0to display all log information, including development mode status and Client ID. - Activation Delay: It may take 2-3 minutes for Client ID registration changes in the dashboard to affect your app.